Today it’s raining and quite wet outside. We haven’t had any rain for over a month, I think, so it’s welcome. It inspires me to sit down and tell you about the last 10 days since my last blog post.
I promised more photos of the ongoing refit of our pocket trawler “Albatross” and I will post some at the end of this post. There is steady progress, but between kick-off time of epoxy, drying time of varnish, paint or the cutting of wood, completed sections ready for showing seem to take a while. So not to tire you out with that exclusively here are some photos I took of other subjects.
 |
| Photo taken with my iPone |
Every so often on a Sunday morning in the summer there is a powered parachute flying above the shores of Lake Erie. It must be the same woman who has been doing it for years! The last time this happened I got my camera out and captured the approaching pilot. I had to be quick though, it was coming up rather quickly and disappeared just as fast. What a fun experience this must be to look below and view everything like through a bird’s eye.
 |
| Here she comes |
 |
| And before you know it, she is gone |
 |
| Goodbye |
 |
| On the same day I spotted 8 hawks cruising together overhead, this one came close |
Capturing objects of interest I just happen to come across is not always easy for me. Usually I have two leashes in my hands with two doggies pulling me along or I’m driving and can’t stop. However, I can entertain you with the cormorants having a morning meeting on a log that I photographed while driving over a bridge across from the Wheatley harbour. I thought they looked funny and since there was no traffic I stopped briefly and took a photo with my phone through the window of my truck.
 |
| That is the best I could do with my iPhone through the truck window |
Don’t you think that his mushroom growing out of a tree branch, I noticed while walking my dogs, is pretty to look at? And for more cuteness, this little bird kept watching me from the bird house above while I was picking cherry tomatoes below in my garden. I thought nesting time was over but it seems the birds like to hang out in them all the time.


Finally, what you all have been waiting for, more boat project photos.

Benno is cutting the moldings to assemble the door frames.

The doors are drying. Three sides of the frame were epoxied together and laid out to dry overnight. Two equal insert panels were glued together with spray adhesive. After drying the three fame pieces the double insert got slid in and the top frame piece is then epoxied on to the frame to make it a complete door.


Oops, for lack of space on the workbench, Benno placed the insert panels on the shrub outside the garage and then sprayed 3M Super 77 Spray Adhesive onto the back of the panels, it looks like the frosting on a cake or snow, I was a little ticked off.

Once you sprayed the glue and attached the panels, do not try to rearrange or take them off, this glue sticks like sh.t!!

After installation of the trim, the screws are hidden with plugs. Those plugs are epoxied into the holes and when dry are cut off flush with his Dremel Oscillating tool where the space allowed him to, otherwise by hand with a Japanese Pull Saw. Benno then sanded the trim smooth and it got revarnished by me and rubbed down with oil and steel wool.

Here I am laying beads of caulking along the frame of the counter. Hard on my hands as it does not flow easily, but I am not a sissy!

Benno is inserting the solid surface counter top onto the just caulked frame to glue the top into place. It is also held on two sides by trim.

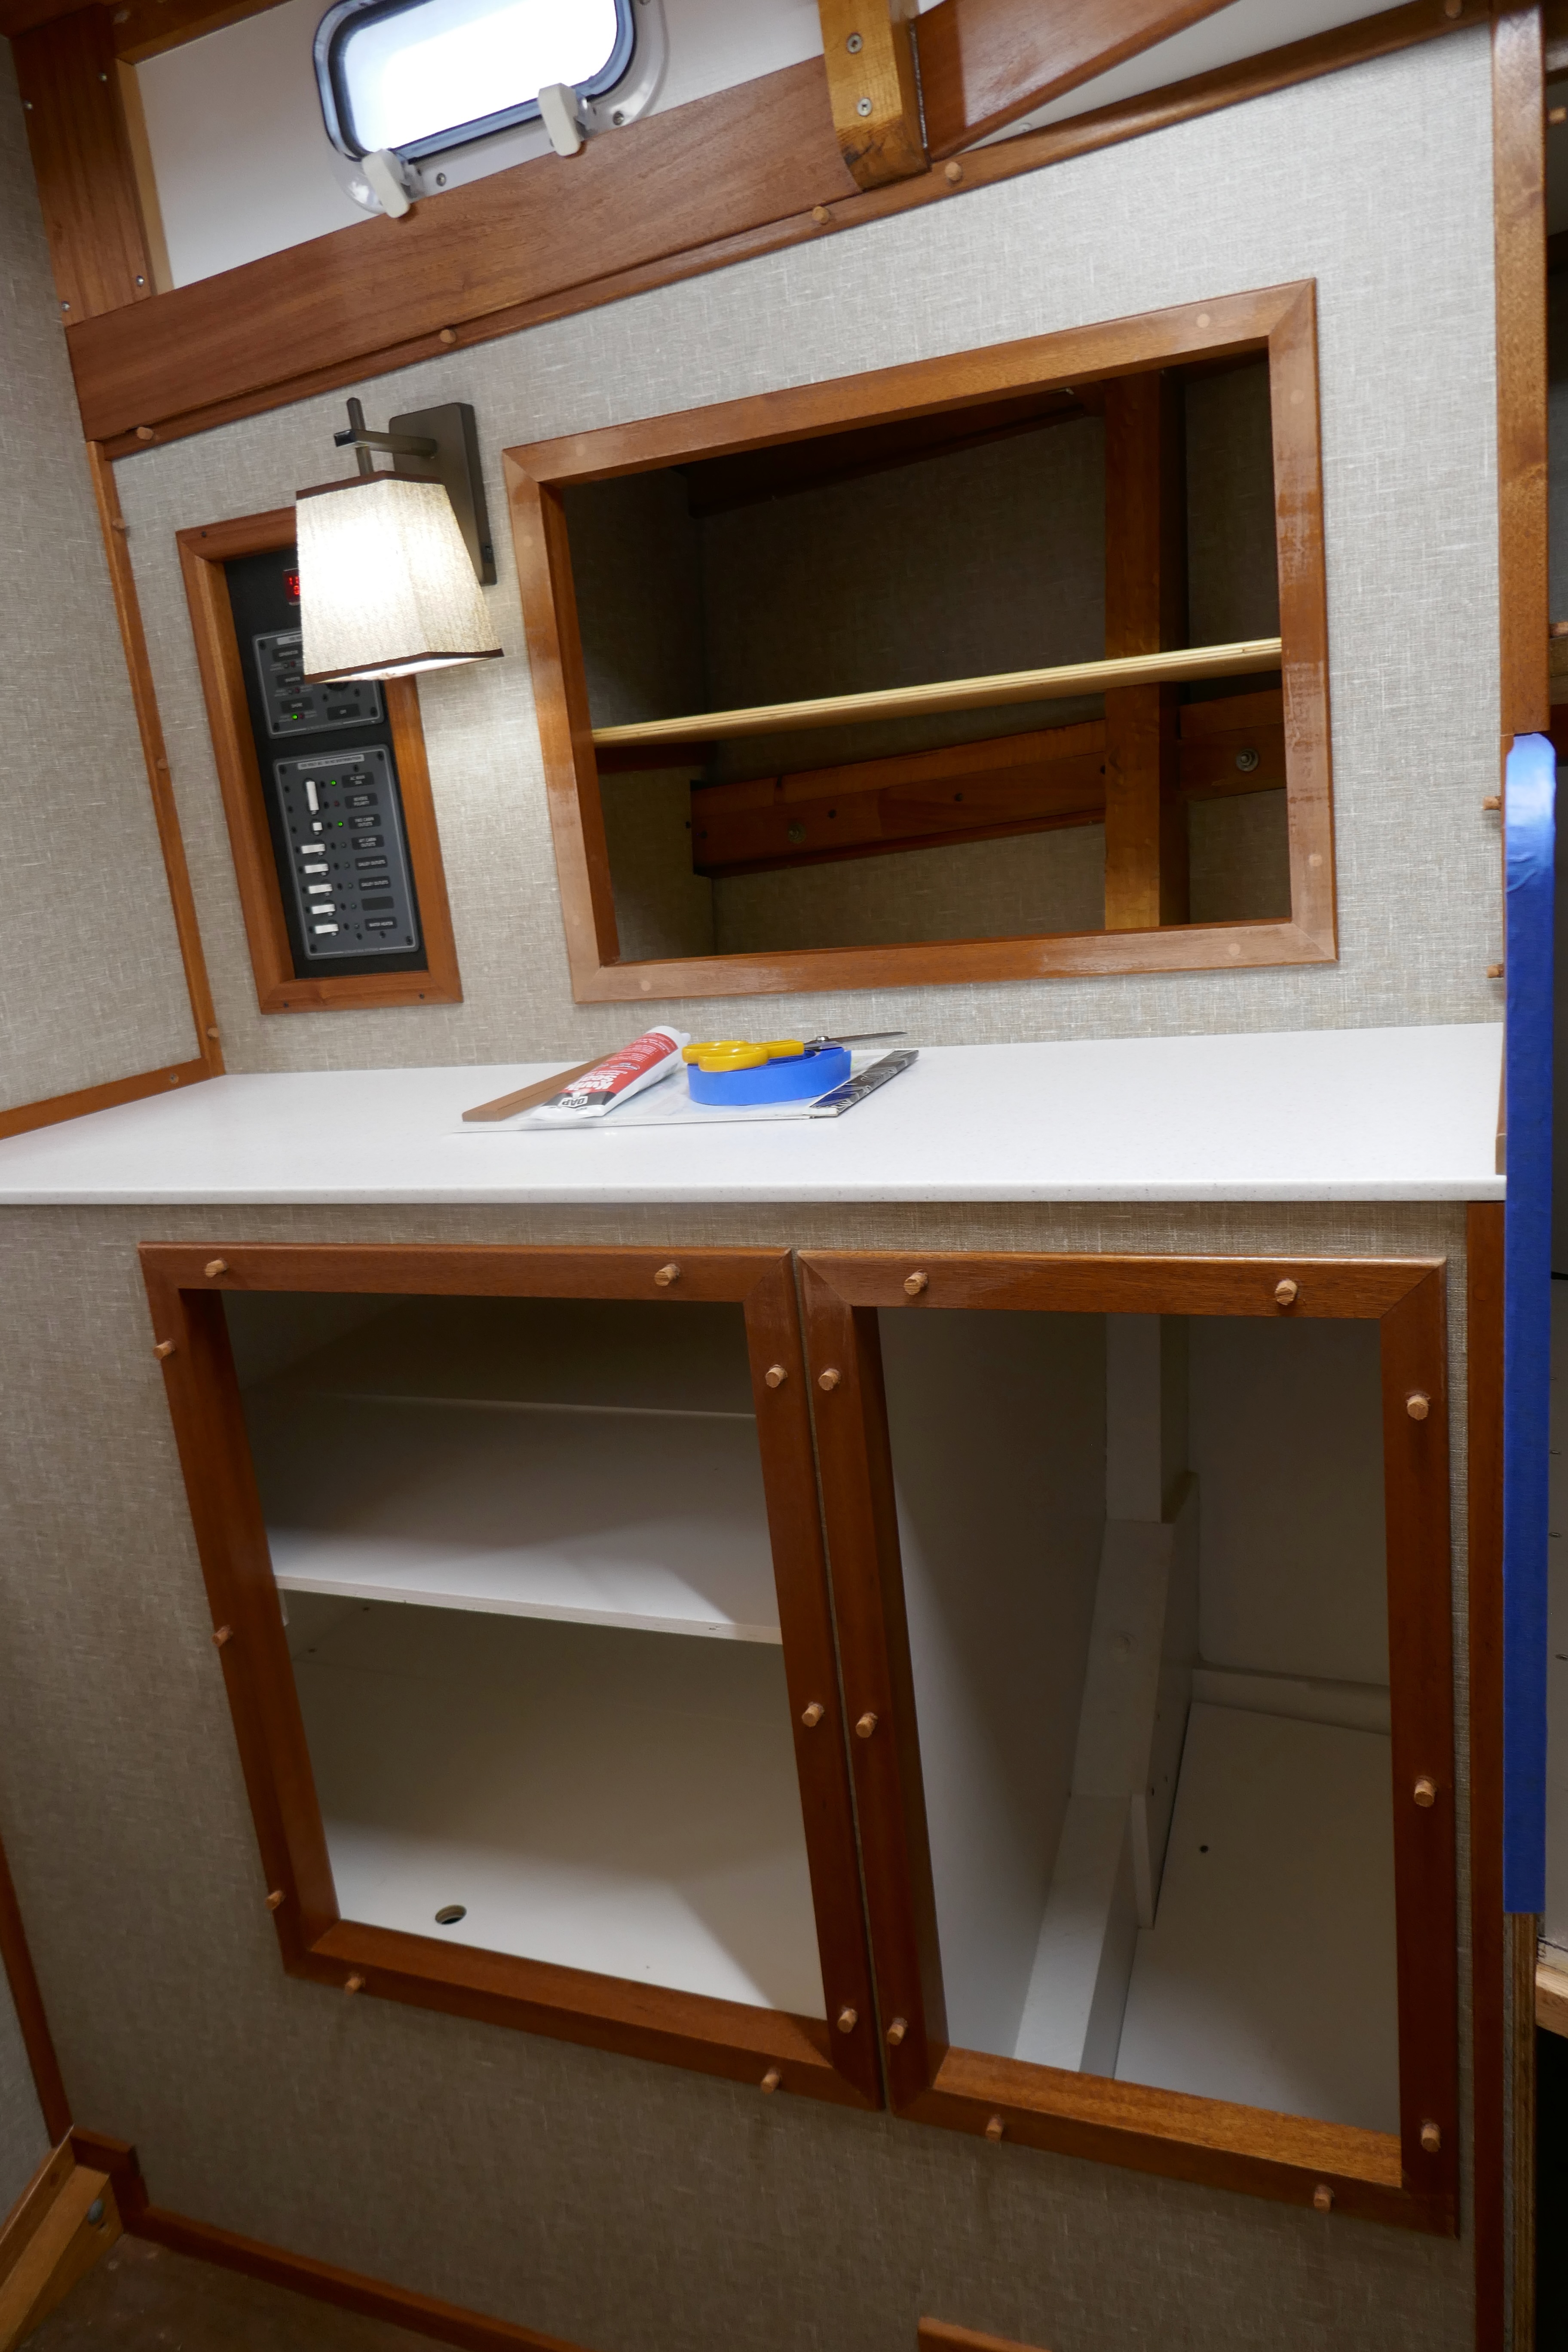
Counter top is in and the new lamp is installed. On the left is the new 120 volt breaker panel with AC Volt and Ampere Meter. Our 12 volt panel is up in the wheelhouse.
Frames for the doors are done and holes are plugged.

Trim is finished and the upper two doors are fitted including door knobs.

Close up of finished upper part of the cabinet.

You can see the doors are hinged and are magnet-spring closed/opened on the upper and lower frame.
The other doors for the lower part of the cabinet are in various stages of drying time and will be installed in the next couple of days.
Thanks everyone for dropping in and taking an interest in the progress of redoing the interior of Albatross.
It just amazes me how talented you both are. You do the most fabulous work ... it's looks like a million dollar yacht!!! Oh yes ... the bushes ... I laughed at that because I've done something similar. Just cut it off, it will be fine! LOL
ReplyDeleteThe bushes got a hair cut!
DeleteThe project may appear to be taking a long time, but that's because you only plan to do it once. Great job!
ReplyDeleteBe Safe and Enjoy!
It's about time.
Thank you
DeleteI agree with Nancy, you two do professional work!
ReplyDeleteNow for my favourite part of your post - the pictures that you spotted on your daily travels. :) The hawks, paraglider, the commorants (your pix is awesome!) and Benno's face after the bush painting. Ha ha.
Yes, this blog is not about boat refit, but it takes up a lot of our time. Nature can be so interesting.
Delete